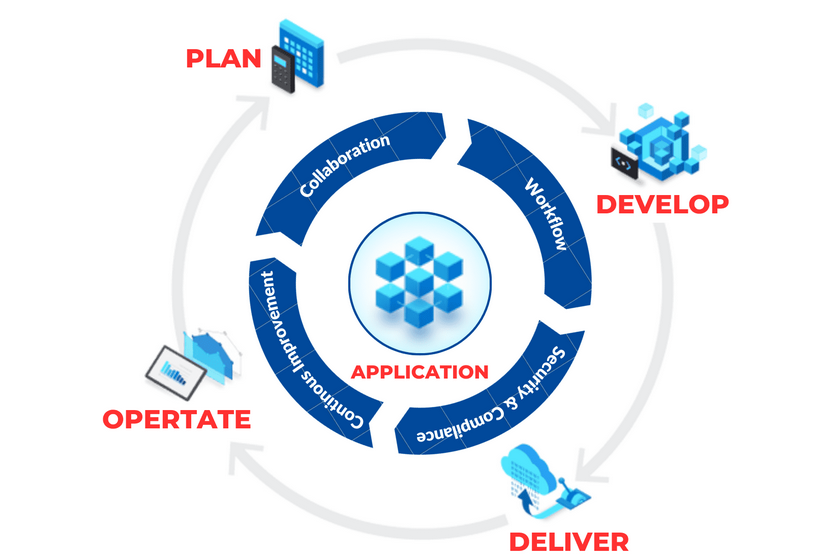
Policy Assignment and Scope – Compliance and Cloud Governance
When we discussed management groups, you saw that management groups can be used as a scope for policy assignment and for granting access. Policy scope is defined as the process of determining which subscriptions, resource groups, and resources for which the policy should be enforced. Supported scopes include management groups, subscriptions, and resource groups.
Policy assignment is the process of assigning a policy definition to a specific scope, say, management groups, subscriptions, or resource groups. In the same definition blade, you will see an Assign option, as shown in Figure 2.11.
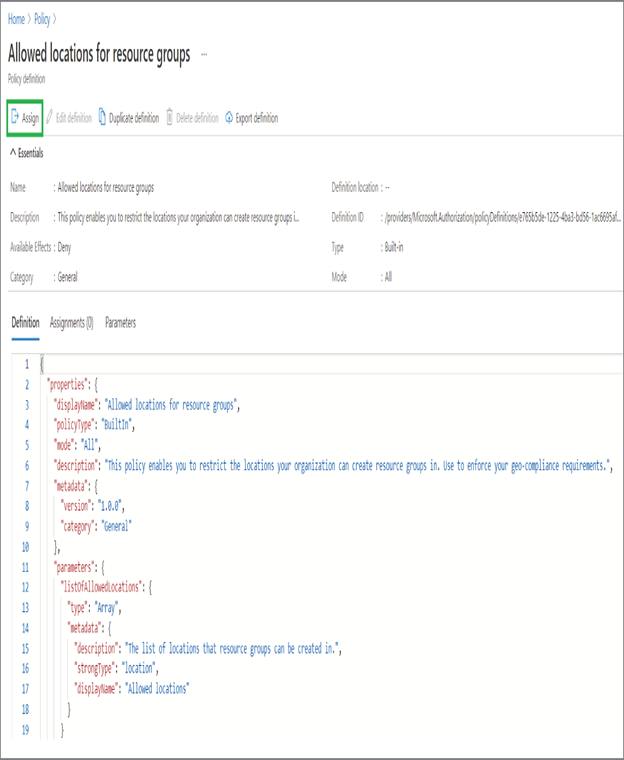
FIGURE 2.11 Assigning a policy
Once you click Assign, you will be taken to the assignment process, and you will get the option to select the scope. Clicking the blue rectangle (refer to Figure 2.12) will show the available scopes including management groups, subscriptions, and resource groups. Based on the scope that you select, the policy will be assigned. After assignment, it takes around 30 minutes to generate the evaluation report. If you would like to assign your custom policy at the management group level, you should create the policy with the management group scope.
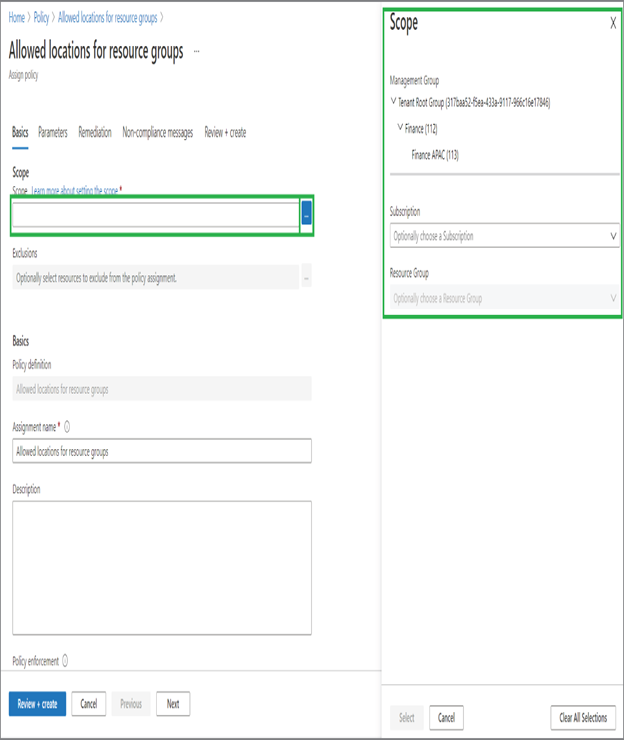
FIGURE 2.12 Selecting a policy scope
In Exercise 2.3, you will see the end-to-end assignment and evaluation process.
Policy Evaluation
After assigning the policy, the existing resources in your scope is reviewed to see if there are any noncompliant resources. Azure Policy offers a dashboard in which you can see the overall compliance of any selected scope and remediate any compliance issues.
Figure 2.13 exhibits a sample dashboard and overall compliance and noncompliant resources in the demo environment. The dashboard can be accessed from Policy ➢ Overview or the Policy ➢ Compliance blade.
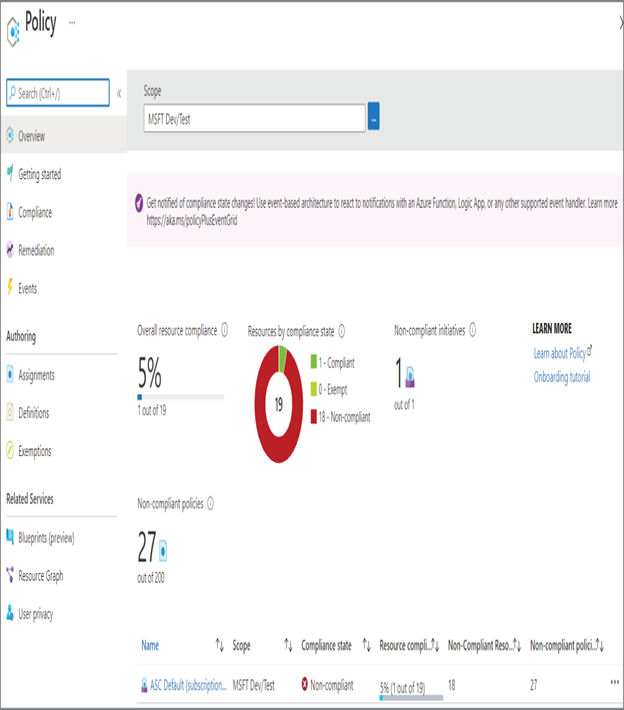
FIGURE 2.13 Evaluating policies
In Exercise 2.3, you will see the end-to-end creation, assignment, and evaluation process of Azure policies. In the exercise, you will create a custom policy called “G series VMs are not allowed.” This policy will enforce a rule that G series VMs cannot be deployed to the scope. This helps in stopping users from creating expensive VMs like the G series.
EXERCISE 2.3
Implementing a Custom Policy
- Sign-in to the Azure portal.
- Search for Policy and open the Policy blade.
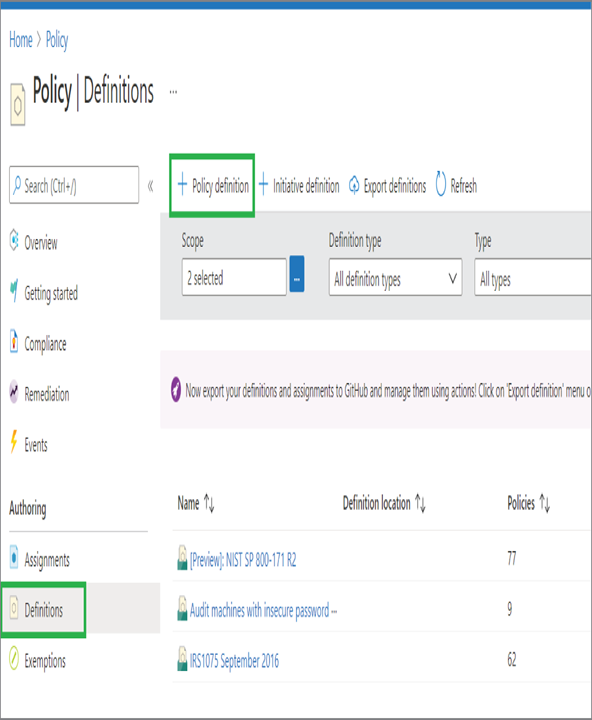
- Navigate to the Definitions blade and click Policy Definition.
- In the next window, you need to provide the details such as the definition location, name of the policy, description of the policy, and finally definition itself. The following are the values you can give for completing this exercise:
• Definition location: Select the management group or subscription where you would like to save the new policy definition. Here we are selecting a subscription for saving the definition. You can select your subscription. If you are planning to use this policy for a management group, then you should choose the management group as the location. Policies defined at the subscription level cannot be assigned to management groups.- Name: Specify a name for the policy that will be displayed in the policy list. Since we are creating the policy for blocking the deployment of G series VMs, you can give the name as “G series VMs are not allowed.”Description: This will be useful for other users to understand what this policy is about. Giving a good description is always recommended. In this case, we can add the description as Use this policy to block the deployment of G series VM.Category: You could specify to which category this new policy should be added. There are built-in categories for every service; if you want, you can create a new category altogether. This will be useful for filtering policies under a specific category while searching for policies. For the time being, you can mark the category as General.
{
“policyRule”: {
“if”: {
“allOf”: [{
“field”: “type”,
“equals”: “Microsoft.Compute/virtualMachines”
},
{
“field”: “Microsoft.Compute/virtualMachines/sku.name”,
“like”: “Standard_G*”
}
]
},
“then”: {
“effect”: “deny”
}
}
}