Configuring Locks – Compliance and Cloud Governance

From the Azure portal, you can add/delete locks by following the instructions in this section. You can also add/delete locks from Azure PowerShell, the Azure CLI, ARM templates, and the REST API.
The first step in assigning a lock is to understand which scope you want to apply the lock to. For example, if you would like to add a lock to the virtual machine we created Exercise 2.5, navigate to the Virtual Machine blade and click the VM name. In the Settings blade of your selected scope (resource, resource group, or subscription), you can see Locks, as shown in Figure 2.20.
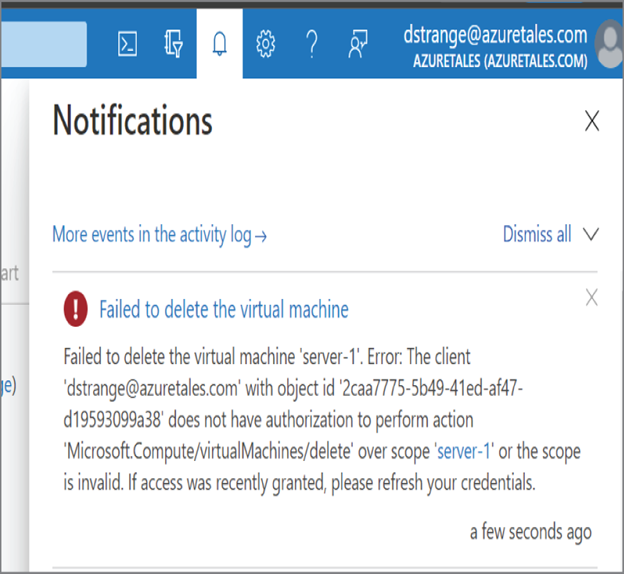
FIGURE 2.20 Navigating to Locks
Now you can add a lock by clicking the Add button (refer to Figure 2.21). You could also see lock buttons for the subscription and resource group to which the selected resource belongs, in case you want to add the lock at a higher level.
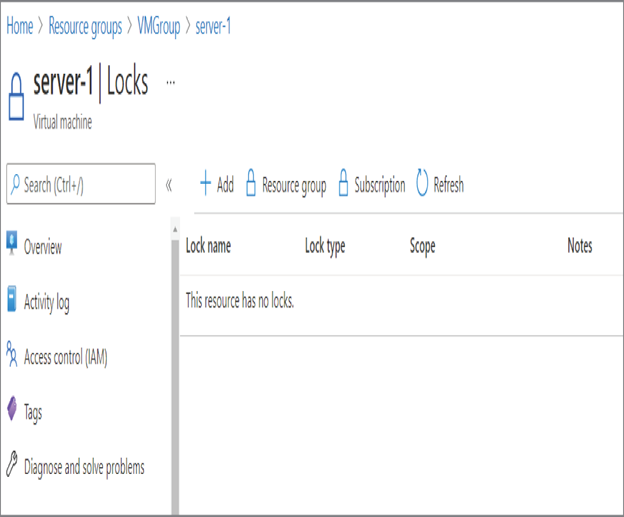
FIGURE 2.21 Listing locks
After clicking Add, you have to give a name to the lock, select the type of lock, and a note for other administrators to understand why you added this lock (see Figure 2.22). Even though the note is an optional field, adding a note is always considered as a best practice. Once you are done, click OK to set the lock.
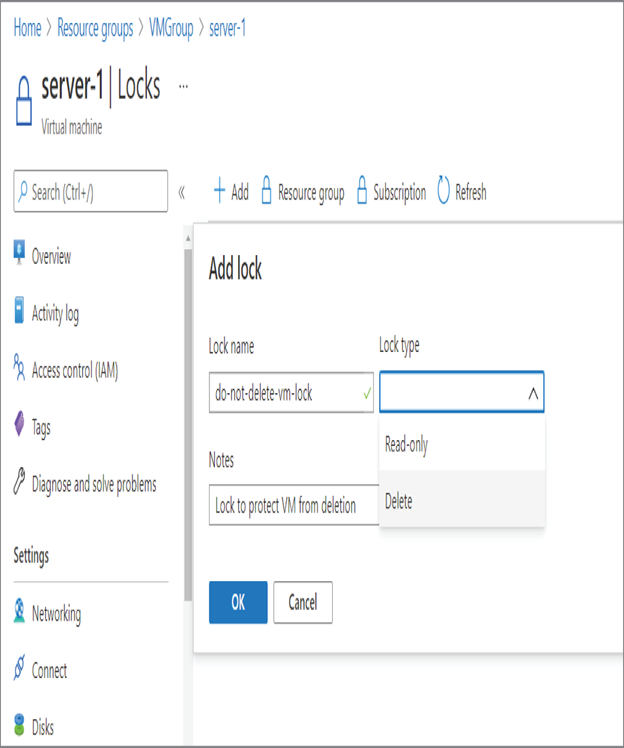
FIGURE 2.22 Adding locks
Once added, you can see the lock listed. You can always edit and change the lock type or delete the lock if needed (refer to Figure 2.23).
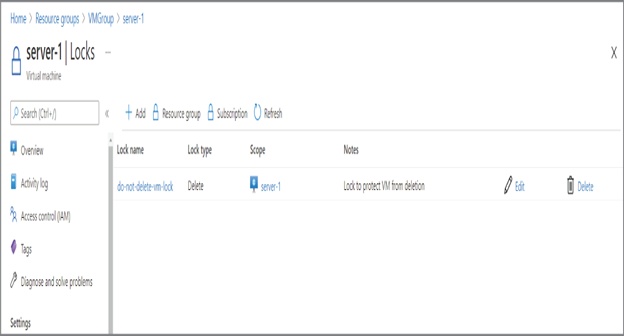
FIGURE 2.23 Managing locks
In this case, we added a Delete lock. You can try start, stop, and delete the VM and see what the outcome is. Similarly, you can remove the lock and add a read-only option and then try to start or stop the VM. The Delete lock will let you modify the VM (start, stop, or update), but you cannot delete the VM. On the other hand, read-only will not let you stop, start, or delete the VM as it prevents you from making changes to the resource.